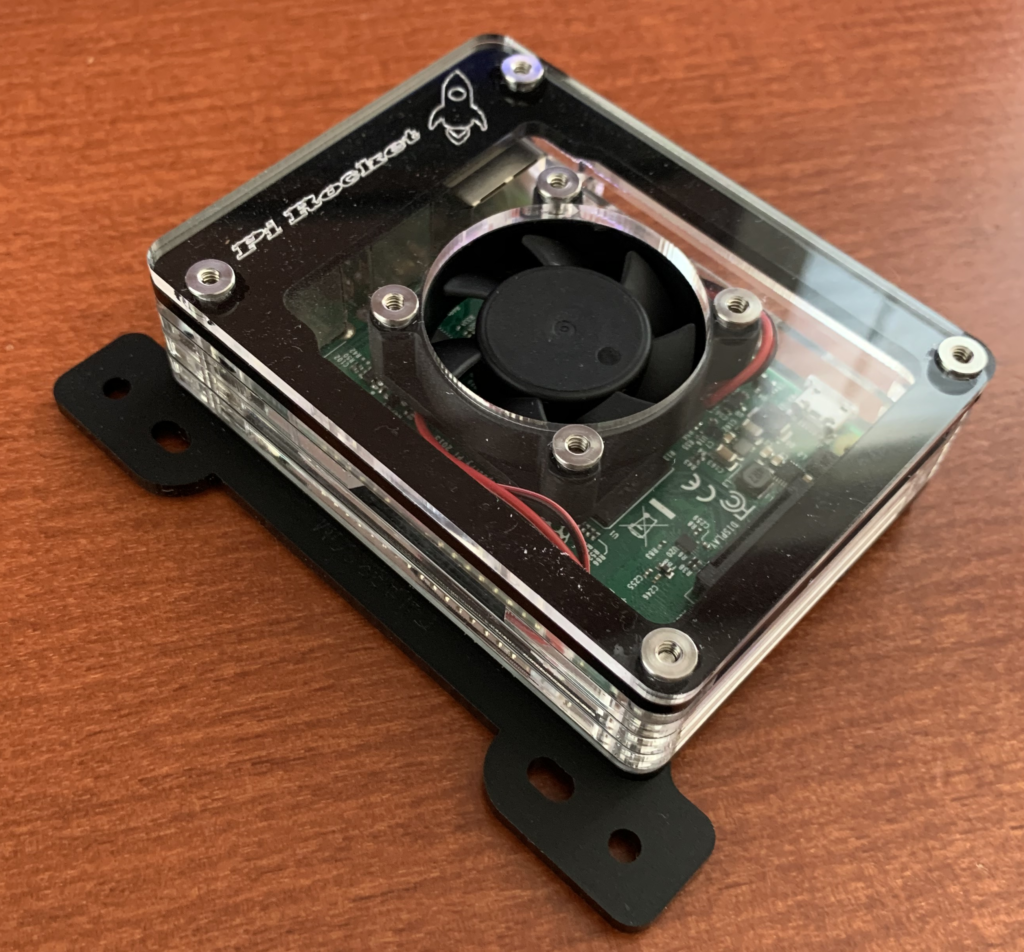
The Pi Rocket is a purpose built Raspberry Pi with a number of networking service applications installed. From setting up a quick DOCSIS test lab, to generating network traffic, the Pi Rocket is a great portable server that literally fits in your pocket.
We package the Raspberry Pi in a sturdy, acrylic case and created a microSD boot image with lots of applications with the notion that you can forego using a laptop for many tasks. As we all know, eventually you can bog down a laptop with a lot of stuff, and sometimes you would like to leave a test running but you don’t want to leave your laptop behind.
Here is a list of the applications that the Pi Rocket includes:
- Raspbian operating system
- “Personality” scripts to quickly change DHCP and interface configurations
- DHCP server
- TFTP with a few DOCSIS configure files for testing
- FTP server with separate user spaces
- SSH enabled
- NTP service
- xInetd – RFC868 TIME protocol configured
- Configured as a Wi-Fi Access Point
- iptables set up for NAT
- UDP proxy of http requests to IP Multicast joins
- Windows Remote Desktop access
- tcpdump to analyze traffic
- iperf to test TCP and UDP traffic throughput*
- rsyslog to catch logs from external sources
- logrotate for, you guessed it, saving space on all logging
- LAMP server (apache2 / mysql / PHP)
- WordPress for documenting the build and diagnostics
- IP Multicast streamer
- Kermit for serial console support
- Ser2Net for remote SSH serial console access (terminal server)
So, as you can see th PiRocket is a great resource. The build is documented using the installed WordPress web site for quick reminders on how to use the installed applications.
The Raspberry Pi is not a speed demon so we try to help that along by including a USB Gigabit Ethernet adapter which helps with the throughput (200Mbps or so). The speed test apps are merely a means to test network functionality.
The kit comes with the Pi Rocket, power supply, USB Gigabit Ethernet adapter, and the SD card. Just plug it in, connect the USB adapter to your internet source, and it’s ready to go!